
Flowers
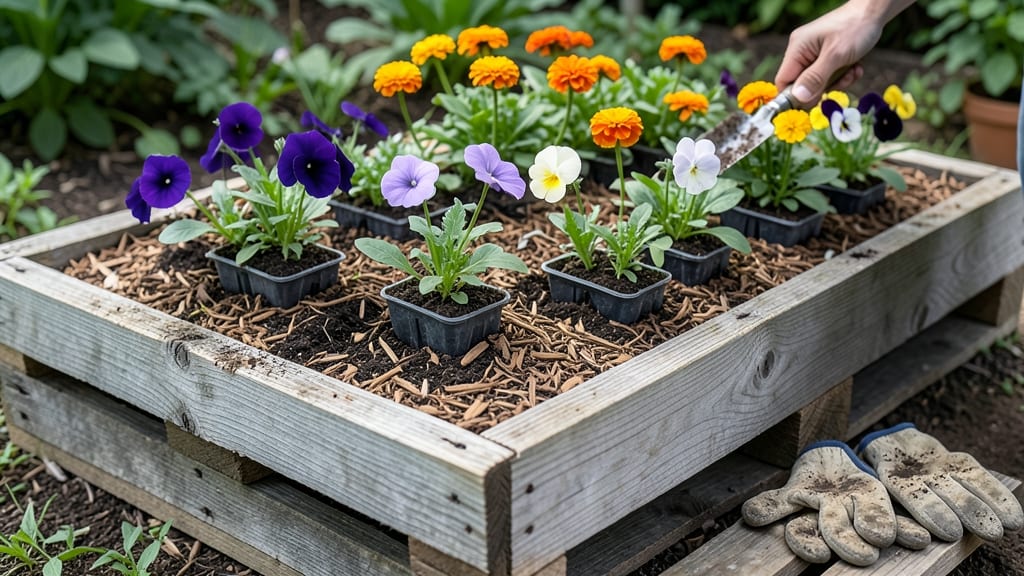
Raised flower beds made from pallets are a game-changer for gardeners who want stunning, low-maintenance spaces without breaking the bank or harming the planet.
Picture this: sturdy, rustic beds that block weeds, improve drainage, and give your plants a head start—all while keeping your yard looking polished.
But here’s the catch: not all pallets are created equal, and a few key prep steps make the difference between a bed that lasts years and one that falls apart by summer.
Whether you’re working with a small balcony or a sprawling backyard, pallet beds let you customize height, shape, and even go vertical. The best part? You’re repurposing materials that would otherwise end up in a landfill, turning waste into a thriving garden oasis.
In this guide, I’ll walk you through selecting the right pallets, treating them safely, and designing layouts that suit your space—plus, the top plants that thrive in these elevated beds. Ready to build?
How to build sturdy raised flower beds using wooden pallets
Creating raised flower beds from wooden pallets is one of my favorite eco-friendly DIY projects—it’s budget-conscious, customizable, and gives your garden that rustic charm while keeping weeds at bay.
The key to success lies in selecting sturdy pallets, preparing them safely, and assembling them with proper reinforcement. Whether you're a beginner or a seasoned gardener, this step-by-step guide will help you build a long-lasting raised bed that elevates your plants and your garden aesthetic.
Before you start, gather your essential tools—a circular saw or handsaw, screwdriver, deck screws (2.5–3 inches), wood glue, sandpaper, and staple gun for landscape fabric. Measure your space and decide on your bed dimensions (standard sizes range from 4’x8’ to 3’x6’).
Pro tip: Heat-treated pallets are safest for plants, but always check for HT stamped markings to avoid chemicals. Let’s get started!
Step-by-Step Guide to Building Pallet Raised Beds
- 1 Source and Inspect Pallets: Look for HT (heat-treated) pallets to avoid chemicals. Avoid pallets with MB (methyl bromide) stamps. Sand down rough edges and splinters for safety.
- 2 Disassemble Pallets: Remove nails or screws using a crowbar or drill. Separate the three main boards (top deck) and side slats. Save longer boards for bed frames.
- 3 Build the Frame: Assemble a rectangular frame using the longest pallet boards. Use 3-inch deck screws and wood glue for extra strength. Pre-drill holes to prevent splitting.
- 4 Add Side Panels: Attach vertical slats to the frame using screws. Leave a 1-inch gap at the bottom for drainage. Reinforce corners with metal brackets for added stability.
- 5 Line with Landscape Fabric: Staple landscape fabric to the inside of the bed to block weeds and improve drainage. Cut fabric to fit snugly.
- 6 Layer for Drainage: Add a 2-inch layer of gravel or broken pottery at the bottom, followed by 4 inches of compost and topsoil mix. This ensures optimal drainage and root growth.
- 7 Seal the Wood (Optional): Apply a non-toxic wood sealant to protect against moisture and extend the bed’s lifespan. Avoid pressure-treated wood near edible plants.
- 8 Plant and Mulch: Choose drought-resistant flowers like marigolds or lavender for low-maintenance beds. Top with 2 inches of mulch to retain moisture and suppress weeds.
One of the biggest mistakes I see is skipping the drainage layer, which can lead to root rot and poor plant health. Always prioritize gravel or broken pottery at the bottom—this is non-negotiable for long-term success.
If you’re working in a windy area, consider anchoring the bed to the ground with stakes or bricks to prevent tipping, especially if your bed is taller than 2 feet.
For extra durability, reinforce the corners with metal L-brackets or corner braces. This is particularly useful if you’re building a tall raised bed (over 2 feet high), as taller beds require more structural support.
I’ve found that pre-drilling screw holes prevents wood from splitting, making your assembly process smoother and more professional-looking. Don’t forget to sand all edges—this isn’t just for aesthetics; it’s a safety measure to avoid splinters.
Once your bed is built, position it in a sunny spot (most flowers need 6+ hours of sunlight daily). If you’re using pallets for edible plants, double-check that the wood is 100% untreated.
For flower beds, you can get creative with paint or stain to match your garden’s theme, but always use non-toxic, plant-safe products. My personal favorite is a natural linseed oil finish—it adds a warm glow while keeping the wood breathable.
After planting, water deeply to help the soil settle around roots. Avoid overwatering, as raised beds drain faster than in-ground plots. A drip irrigation system is a game-changer for maintaining consistent moisture without the hassle of hand-watering.
Over time, you’ll notice your flowers thrive in this elevated, weed-free environment while adding vertical interest to your garden. Happy building!
🌱
Best pallet wood types for flower beds and how to treat them
Not all pallets are safe or suitable for raised flower beds, especially if you plan to grow edible plants or delicate flowers. The two main types—heat-treated and chemically treated—each come with pros and cons that affect your garden’s health and longevity.
Heat-treated pallets, stamped with "HT" or "HB" (heat-treated), are the safest choice because they’ve been sterilized without toxic chemicals, making them ideal for vegetable gardens or herb beds.
Chemically treated pallets, often labeled "MB" (methyl bromide-treated), contain pesticides or fungicides that can leach into soil over time. While they resist rot longer, they’re risky for edible crops unless you take extra precautions like lining the bed with landscape fabric.
Always inspect for stamps—if unsure, assume it’s chemically treated and proceed with caution.
| Pallet Type | Treatment Method | Safety for Edibles | Lifespan | DIY Treatment Needed? |
|---|---|---|---|---|
| Heat-Treated (HT) | Steam sterilization | ✅ Safe for all plants | 3–5 years | ❌ No (pre-treated) |
| Chemically Treated (MB) | Methyl bromide | ⚠️ Risky; use fabric liner | 5–7 years | ✅ Yes (seal wood) |
| Untreated | None | ✅ Safe for edibles | 1–3 years | ✅ Yes (oil or sealant) |
Even with the safest pallets, wood rot and pests can shorten their lifespan. To extend durability, sand down rough edges to prevent splinters, then apply a non-toxic wood sealant like linseed oil or beeswax.
For chemically treated pallets, add a landscape fabric barrier between the wood and soil to block leaching. I recommend reapplying sealant every 1–2 years to keep your beds looking fresh and functional.
Pro tip: If you’re unsure about a pallet’s treatment, do a quick burn test. Light a small piece—if it burns cleanly without toxic fumes, it’s likely heat-treated. Strong chemical smells mean it’s chemically treated, and you should avoid direct contact with soil.
Always prioritize untreated or heat-treated pallets for herbs, salad greens, or flowers you’ll eat.
For extra protection, elevate your pallet beds off the ground using bricks or cinder blocks to improve airflow and drainage. This simple step reduces rot risk and makes cleaning up debris a breeze.
Pair your treated pallets with compost-rich soil and drought-tolerant plants like lavender or thyme to maximize their lifespan while keeping your garden thriving.
Ready to transform your pallets into a weed-free, long-lasting garden? Start by sourcing the right wood, treating it properly, and designing a layout that fits your space—your plants (and your back) will thank you! 🌿