
Picking
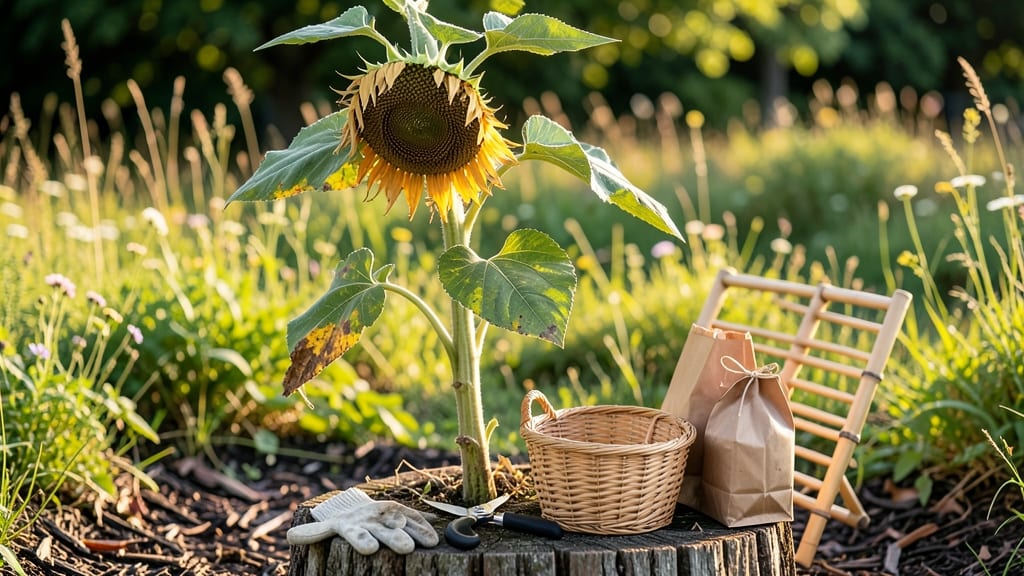
Sunflower seeds are ready to harvest when the back of the head turns brown and the petals begin to droop 🌻 — a sure sign they’re packed with flavor and nutrition.
Picture this: You’ve spent all summer watching your towering sunflowers sway in the breeze, and now the moment of truth arrives. One wrong move, and you’ll miss the perfect window—either ending up with bitter, underdeveloped seeds or losing them entirely to birds or rain.
The key? Learning the back-of-hand test and other foolproof tricks to nail the timing every time.
Why does this matter? Because harvesting at the right moment isn’t just about taste—it’s about maximizing your yield. Too early, and you’ll waste your effort; too late, and Mother Nature (or hungry birds) will take over.
I’ll walk you through the exact visual and tactile cues to spot, plus how to adjust for your climate and sunflower variety.
By the end, you’ll know exactly when to grab your pruners and how to store your harvest for months of snacking ahead—no guesswork, just perfect seeds every time.


The back-of-hand test: how to check sunflower seed ripeness like a pro
Harvesting sunflower seeds at the perfect moment transforms your garden into a nutritious bounty. The back-of-hand test is my go-to trick for determining ripeness without guesswork. This tactile method, combined with visual cues, ensures you harvest seeds that are fully developed but not overripe.
Whether you're growing confectionary or oilseed varieties, timing is everything to avoid bitter, underdeveloped seeds or heads that shatter before harvest.
Before you reach for that sunflower head, check these three key indicators: seed color, head dryness, and the stem's hollow sound. Skip any of these, and you risk harvesting seeds that are either too green or too brittle.
The back-of-hand test specifically helps gauge the seed head's firmness—a critical factor often overlooked by beginners. Let’s break it down step by step to get your harvest just right.
⚠️ CRITICAL: The back-of-hand test works best when combined with visual cues. Never rely on touch alone—always cross-check with seed color and petal condition.
One common mistake I see is harvesting based solely on flower color. Just because the petals are brown doesn’t mean the seeds are ready—some varieties take weeks longer to mature after the petals fall.
For example, Mammoth Russian sunflowers often need 10-14 extra days after petal drop to reach full seed ripeness. Always verify with the back-of-hand test to avoid disappointment.
If you’re growing multiple sunflower varieties, harvest them separately. Confectionary types (like Autumn Beauty) ripen faster than oilseed varieties (like Russian Giant). Keep a small notebook to track each variety’s progress—note the day petals drop and when the back-of-hand test confirms readiness.
This simple habit saves time and ensures no seeds go to waste.
Overripe seeds are just as problematic as underripe ones. They’ll shatter easily when touched, scattering seeds across your garden. If you notice seeds falling out when you handle the head, it’s past its prime.
Store any overripe seeds immediately in a cool, dry place to prevent further damage, but expect lower quality for eating or planting.
Pro tip: Harvest early in the morning when seeds are at their driest. This reduces the risk of mold and makes shelling easier. Use a sharp pair of pruning shears to cut the head cleanly, leaving a 1-2 inch stem attached.
Hang the heads upside down in a well-ventilated, dry location (like a garage or shed) for 1-2 weeks to fully dry before shelling.
For those in cooler climates (USDA Zones 3-5), sunflowers may take 10-14 extra days to mature compared to warmer regions. Monitor your plants closely, especially if frost threatens. If seeds aren’t fully ripe by the first frost, harvest the heads anyway and finish drying them indoors.
The seeds may be smaller but still usable for planting next season.
Once your seeds are perfectly ripe, store them in an airtight container in a cool, dark place (like a root cellar or fridge) for up to 6 months.
Label the container with the variety name and harvest date to keep track of freshness. With the back-of-hand test and these tips, you’ll never second-guess your sunflower harvest again!
Sunflower seed ripeness timeline: days to maturity by variety
Not all sunflowers mature at the same pace, which means your harvest timing depends heavily on the variety you’re growing. Oilseed types, like Mammoth, take longer to ripen than confectionary varieties such as Autumn Beauty.
Understanding these differences helps you plan ahead—especially if you’re growing multiple types in the same garden.
Climate plays a huge role too. In hot, dry regions like Arizona, sunflowers may mature 2-3 weeks faster than in cooler zones like USDA Zone 5. Adjust your expectations by tracking local frost dates and average temperatures.
For example, if your first frost arrives in mid-October, prioritize faster-maturing varieties to avoid losing your harvest.
If you’re growing sunflowers in cooler climates, extend your growing season by planting early-maturing varieties like Teddy Bear or Autumn Beauty. These types reach harvest readiness in 60-75 days, giving you a head start before frost.
In warmer areas, you can even try successive plantings every 2-3 weeks to stagger your harvest and enjoy fresh seeds all season.
Pro tip: Mark your calendar based on your last frost date and count backward from the maturity days listed. For example, if your frost arrives on October 15 and you’re growing Mammoth (120 days), plant by mid-June to ensure a full harvest before winter sets in.
Once you’ve identified the right variety for your climate, keep an eye on the back-of-hand test and other ripeness cues. Combine this timeline with your local weather patterns, and you’ll never miss the perfect moment to harvest—just in time for crunchy, flavorful seeds straight from your garden.