
Plants
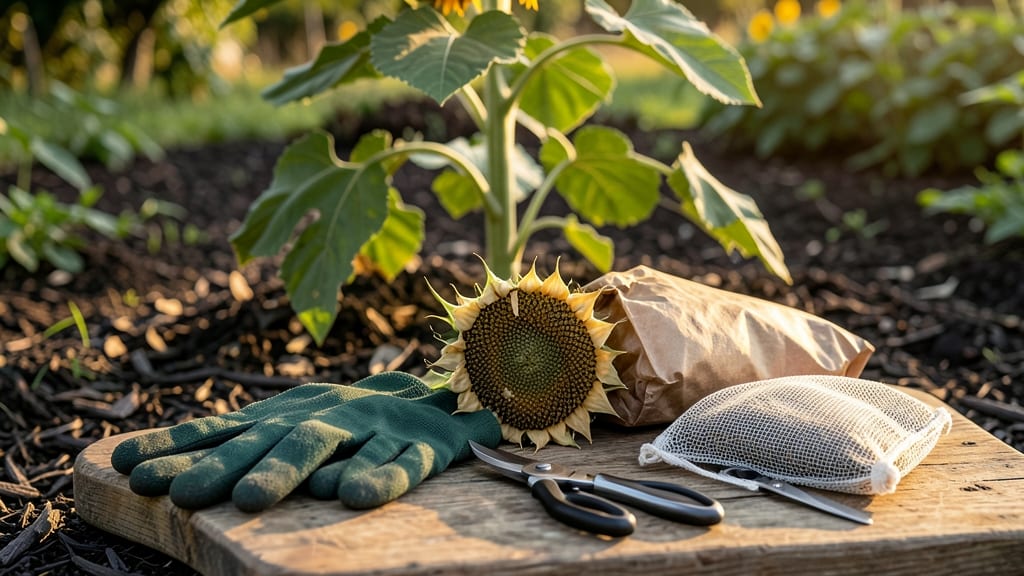
Harvesting sunflower seeds from plants at the right time ensures rich, flavorful seeds instead of bitter or wasted ones — and missing this window can mean losing your entire crop.
Picture this: you’ve nurtured your towering 🌻 sunflowers all season, only to realize too late that the seeds are either still green or already scattered by birds. The difference between a bountiful harvest and disappointment comes down to knowing three key signs that tell you it’s time to act.
In USDA Zone 6a, where frost arrives by November, timing matters even more. You’ll want to harvest before the first cold snap, but not before the seed heads fully mature.
Below, I’ll walk you through the exact cues to watch for — from seed color to the telltale rattle — so you never miss the perfect moment.
Once you’ve mastered these signs, you’ll also learn how to dry and store your seeds properly to keep them fresh for months. No more guesswork, just a foolproof method for turning your sunflowers into a harvest you can be proud of.


3 Clear signs your sunflower seeds are ready for harvest (don’t miss them!)
Harvesting sunflower seeds at the right time ensures maximum yield and flavor. Miss this window, and you’ll end up with bitter, underdeveloped seeds or lose them entirely to birds and wind.
The key is watching for these three unmistakable signs that your sunflowers have reached peak ripeness. Start by checking these visual cues before your plants begin shedding seeds naturally.
First, pay close attention to the back of the seed head. When it turns from green to a deep, golden-yellow color, your seeds are nearing maturity. This color change signals that photosynthesis has slowed, redirecting energy to seed development.
Ignoring this subtle shift means risking seeds that never fully mature or sprout prematurely in the soil.
Next, give your sunflower heads a gentle shake. If the seeds inside rattle loudly like a maraca, they’re ready for harvest. This sound comes from the seeds moving freely within the dry, papery husk.
If you hear nothing—or just a faint rustle—wait another week. This simple test saves hours of waiting and ensures you don’t harvest too early.
Finally, observe the petals and seed head structure. When they’ve completely fallen off, leaving only the dry, brown center, your seeds are primed for picking. The remaining husk should feel brittle and crumble easily between your fingers.
If petals linger or the head stays green, your seeds need more time to ripen.
Watch for the back of the head turning from green to golden-yellow. This indicates the seeds are maturing and ready for harvest within 1-2 weeks.
Shake the head gently. If seeds rattle loudly, they’re dry and ready. No sound? Wait 3-5 more days for full ripeness.
Petals should fall completely off, leaving a dry, brown husk. The head should feel lightweight and brittle—not heavy or moist.
Timing your harvest correctly also depends on your climate zone. In warmer regions (USDA Zones 8-10), sunflowers may mature faster, while cooler zones (Zones 3-6) could extend the ripening process by 2-3 weeks.
Always harvest before the first frost, as cold temperatures can cause seeds to sprout in the head or develop mold.
Birds and squirrels are your biggest competitors during harvest season. If you notice them pecking at your sunflowers or leaving behind scattered seeds, it’s a sign your seeds are nearly ready.
These critters target ripe seeds first, so act quickly to secure your yield. Consider covering heads with breathable mesh bags if wildlife is a persistent issue.
One common mistake is harvesting seeds when the morning dew is still present. Wet seeds won’t dry properly, leading to mold or sprouting. Always harvest on a dry, sunny morning to ensure seeds stay fresh.
Cut the entire head with a sharp pair of shears, leaving a few inches of stem attached for easier hanging and drying.
Once harvested, place the seed heads in a well-ventilated, dry location for 1-2 weeks. Store them in a cool, dark place (like a paper bag) until fully dry.
Proper drying prevents spoilage and ensures your seeds remain viable for planting next season. With these signs in mind, you’ll never miss the perfect moment to harvest again!
🌻
Step-by-step guide: how to harvest sunflower seeds without wasting a single one
Now that you’ve identified the perfect moment to harvest (thanks to those key signs!), let’s dive into the step-by-step process to ensure you collect every last seed without waste.
The difference between a full seed head and a scattered mess often comes down to technique—especially when dealing with sunflowers that can grow taller than you!
Start by gathering your tools: a sharp pair of pruning shears, a clean bucket or paper bag, and a dry, sunny workspace. Avoid harvesting on damp mornings—wet seeds stick together and risk mold.
Instead, wait until the dew has evaporated but the sun is still mild, like early afternoon. This balance keeps seeds dry while preventing overheating.
- 1 Cut the seed head with shears, leaving 2-3 inches of stem attached. This stem acts as a natural handle for drying.
- 2 Hang heads upside down in a well-ventilated, dry spot (like a garage or shed). Use a string or hook to suspend them—this prevents seeds from falling out prematurely.
- 3 Dry for 1-2 weeks until the husk turns completely brown and crumbly. Check daily—over-drying can cause seeds to shatter, while under-drying risks mold.
- 4 Remove seeds by rubbing the dried head over a clean sheet or tray. The seeds will fall out easily, while chaff and debris stay behind.
- 5 Store seeds in an airtight container (like a glass jar) in a cool, dark place. Add a silica gel packet to absorb moisture and keep them viable for up to 2 years.
Pro tip: If you’re harvesting multiple sunflower varieties, label each container immediately. Mixing seeds can lead to unexpected hybrids next season—especially if you’re growing heirloom or decorative types. A simple masking tape label with the variety name and harvest date works perfectly.
One common mistake is skipping the drying step to speed up the process. Rushing causes seeds to sprout inside their storage container, rendering them useless. Always test a few seeds by placing them in a paper towel for 24 hours—if they sprout, your seeds weren’t fully dry.
For extra insurance, spread seeds on a baking sheet in a single layer for an additional day under indirect sunlight.
Once your seeds are dry and stored, you’ve officially turned your sunflowers into a self-sustaining garden resource. These seeds can be replanted next year or shared with fellow gardeners—just remember, sunflowers thrive in full sun and well-draining soil, so pass along planting tips too!
With this method, you’ll never waste a single seed again.
🌾